How to Take B Site on Anubis Without Losing Your Entire Buy

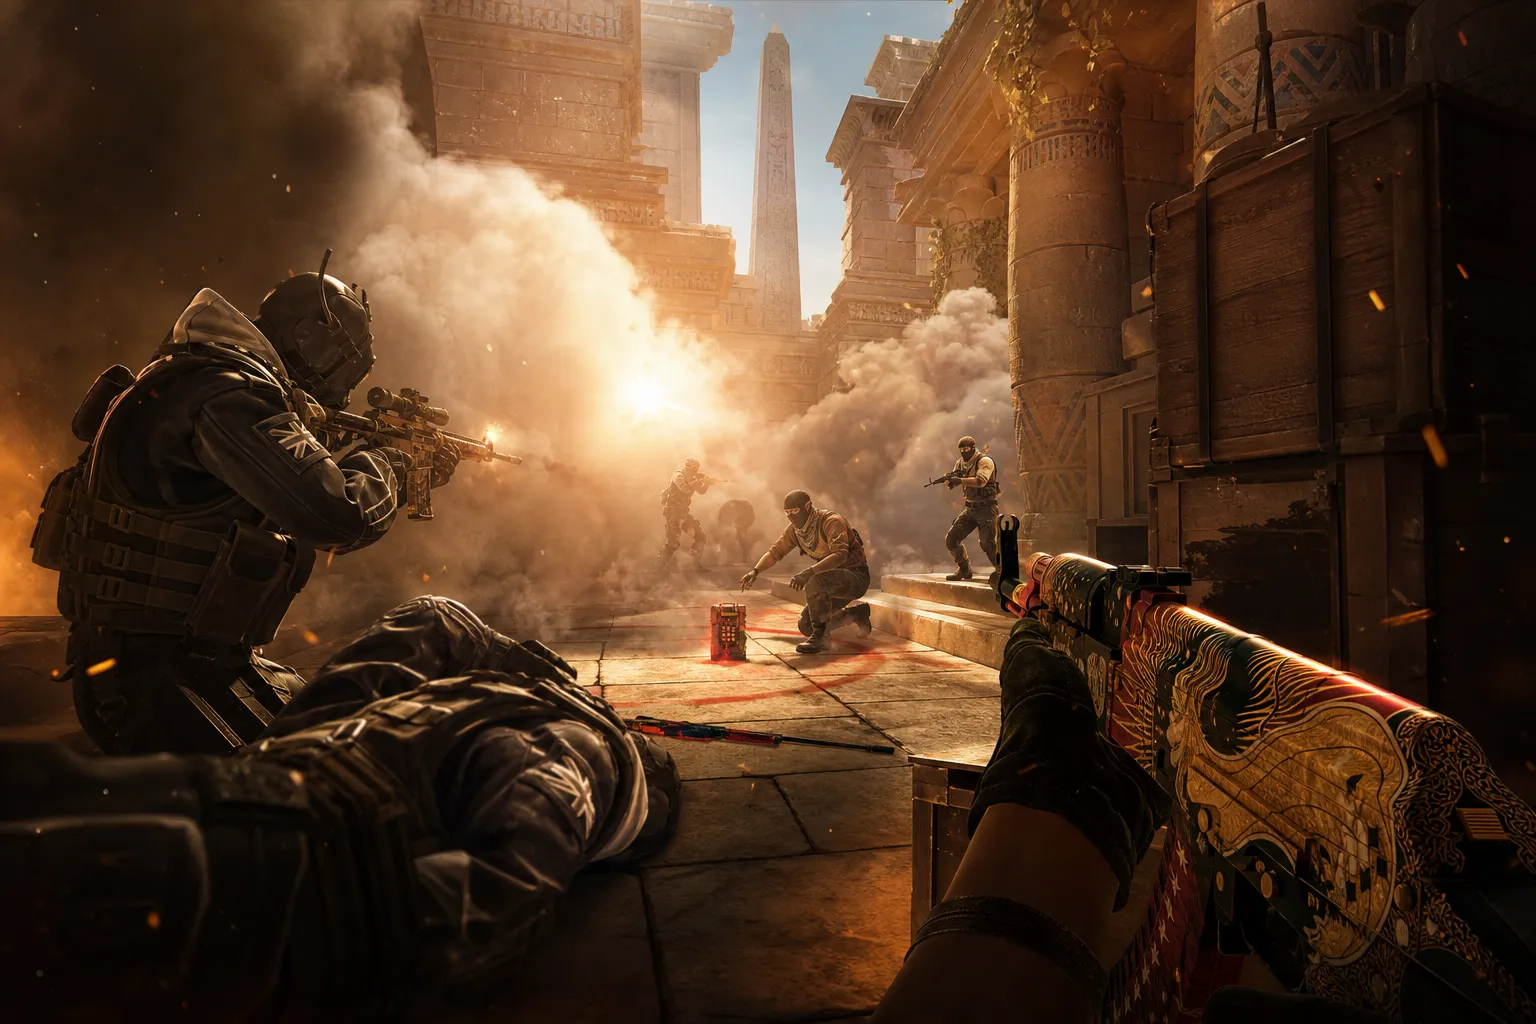
You know the feeling: you’ve got a clean AK/armor buy, the round is actually winnable, and then your team runs into B on Anubis like it’s a deathmatch warmup. One smoke is late, someone dry-swings through water, the bomb gets stuck in mid lane, and suddenly your 4v2 turns into a save call before the spike is even planted. That’s not “Anubis being weird.” That’s a bad B hit.
B site on Anubis is one of those places where good teams look surgical and bad teams look like they queued into four molly-less T-side randos. The site is strong, sure, but it’s not magical. If you respect the rotations, clear the right angles, and stop throwing three rifles into a stack of the same choke, you can take B without spending your entire buy on a coin flip.
Why B on Anubis keeps eating T-side money
Anubis punishes lazy spacing harder than a lot of maps in the pool. B has enough angles to make one-man entries miserable, but it also has enough control points that you can actually isolate defenders if you hit the site with a plan. The problem is most teams don’t really plan — they just “execute B” and hope the subtick gods smile on them.
On Source 2, with subtick making movement and peeks feel cleaner than old 64-tick misery, bad habits show up instantly. If your first guy is too wide, if your second guy is late, if your third guy is still in water while the first duel happens at canal, you’re done. B punishes that more than A because the site takes a few seconds to fully flood with utility once the CTs realize what’s happening.
The economy side nobody wants to talk about
If you’re buying a full AK round and losing it on a half-baked B hit, that’s not “just CS.” That’s throwing away an $18,500+ team buy if everyone’s on rifles, nades, and kits worth of utility on the CT side response, and on your side you’re usually burning $4,000 to $5,500 per player for a setup that might not even reach the site. One failed hit can wreck two rounds, sometimes three if the loss bonus gets weird and you end up forcing into bad armor buys.
Good teams don’t just ask, “Can we take B?” They ask, “Can we take B and still have enough money to fight the next round if it goes sideways?” That’s the real question.
The default B take that actually works
The cleanest B hits on Anubis usually come from map control first, execution second. You don’t need some fake sci-fi grenade recipe. You need a repeatable path that cuts off CT info and makes the defenders guess where the real pressure is.
Here’s the basic shape:
- Take canal or pressure it.
- Smoke the obvious sightlines before you show bodies.
- Have one player ready to trade from mid-range, not 10 meters behind the pack.
- Keep a lurk alive to punish the rotate through spawn or A link.
- Plant for post-plant crossfires, not for highlight clips.
That sounds simple because it is. Most teams lose because they skip the boring part. If you can get one CT rotating, you’ve already made the site easier. If you can get two, the round usually becomes a numbers game instead of a mechanics test.
What your first three seconds should look like
Your entry guys need to treat the first contact like a job, not a mood. One player clears the close angle, one holds the anti-flash timing, and one is already thinking about the next swing. Don’t bunch up in a doorway and don’t all stare at the same pixel like you’re watching s1mple take an AWP duel in a Major playoff. You’re not him, and that’s fine.
On B Anubis, the first three seconds are all about not bleeding bodies to utility and spam. If you lose a rifle before the site is even visually yours, the execute starts falling apart. Smoke discipline matters. Flash timing matters. Trading matters even more.
Utility that doesn’t waste your whole bankroll
You don’t need a six-grenade circus act to get into B. In fact, the more utility you throw, the more you usually telegraph the hit. The goal is to spend just enough to force CTs into bad positions, not to recreate a highlight reel from a random Twitter clip.
A practical B hit often looks like this:
- One smoke to cut off the most annoying long sightline.
- A second smoke to block the retake path or isolate a defender.
- One flash that pops after your entry crosses the threshold, not before.
- A molly for the obvious hidey-hole that keeps ruining your plant.
That’s it. You’re not buying a fireworks show. If you’re dumping three smokes, two mollies, and both flashes just to get one foot onto site, your post-plant is going to be naked. And naked post-plants on B Anubis get farmed by disciplined CTs with kits and good spacing.
Also, don’t sleep on the fake pressure. A couple of presence takes in A main or mid can pull the B anchor out of position long enough for the real hit to land. Teams like Vitality and MOUZ have made careers out of making the defense second-guess itself before the burst even starts. That’s not fancy. That’s just good CS.
Roles matter more than aim heroics
If you’re the entry, you need to know whether you’re the one taking the first contact or the one baiting the first reaction. If you’re the second man, your job is uglier but way more important: swing on the trade, don’t overpeek, and stop looking for the ace. If you’re the lurk, keep one eye on the round and one on the rotate timing, because on Anubis the difference between a clean post-plant and a disaster is often 4-5 seconds of patience.
The best B hits I’ve seen in CS2 don’t look glamorous until the scoreboard shows 3 alive and the bomb is down. donk doesn’t need to take every fight for Team Spirit to look unstoppable; the spacing behind him is what makes the whole thing nasty. That same principle applies here. Your star can open the round, but if the second and third players don’t convert space into control, the site just resets.
And please, for the love of Premier rating, stop sending three players into the same angle because “we have better aim.” Aim doesn’t matter if your own molly forces you into a bad timing window. A 13,000 CS Rating pug can get away with that sometimes. A serious team absolutely shouldn’t.
Post-plant isn’t an afterthought — it’s the round
Too many teams treat the plant like the end of the job. On B Anubis, planting is only the halfway mark. The site has enough retake lines that if you plant in the wrong spot, you’re basically inviting the CTs to run a tutorial on how to clear you one by one.
Think about the retake from the CT side. They’ll usually come with utility, a kit or two, and enough structure to make your post-plant miserable if you’re spread too thin. That means your plant should support crossfire angles, not one lonely rifler holding a hopeless lane while the rest of the team runs for exit kills.
What works best:
- One player tucked to force the first swing.
- One player playing contact from a different elevation or angle.
- One lurk ready to punish the rotate, not chase frags.
If you’ve got an AWP, be smart with it. Don’t post it where a single flash deletes your entire round. The AWP on post-plant B can be disgusting, but only if it’s alive, unblinded, and not staring down the wrong lane because someone got impatient.
When to hit B and when to leave it alone
Not every round needs a B commit. That’s how you end up forcing bad odds into a site that’s already set up to punish you. If the CTs are stacking water, if the anchor keeps surviving with utility, or if your lurk is getting no pressure elsewhere on the map, just stop. Reset. Take mid. Pull rotations. Hit the site later when the defense has to respect something else.
Major teams don’t brute-force every round, and neither should you. Watch how teams at Copenhagen or Shanghai adapted around map control instead of hard forcing every execute. The good rounds often started 20 seconds earlier than the actual hit. That’s the part most people miss when they clip the final two kills and call it “good teamwork.”
If you’re forcing B every round, the CTs will start reading your timings, pre-nading your path, and holding for your exact flash pop. Once that happens, you’re not taking a site anymore — you’re donating rifles into a setup.
B on Anubis is strong, but only if you hit it like you’ve played the map before. Respect spacing, spend utility like it matters, and stop trying to win the round with a single hero entry. Do you want the bombsite, or do you want another highlight of your team dying in the same choke?